

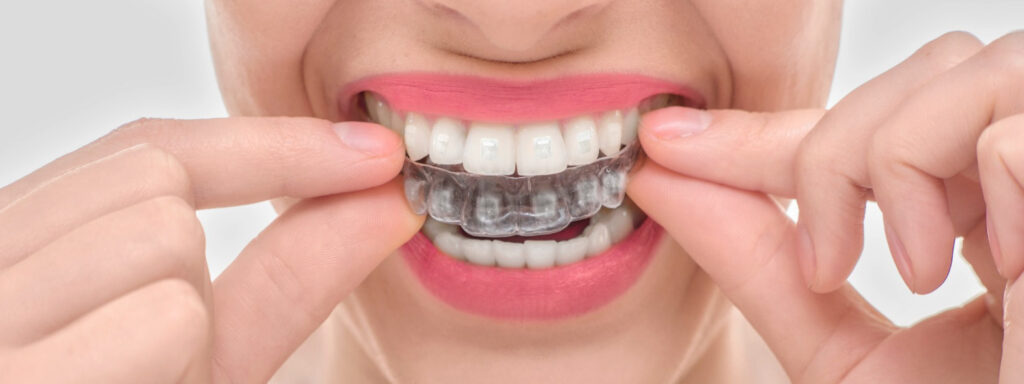
HOW TO PLACE ATTACHMENTS?
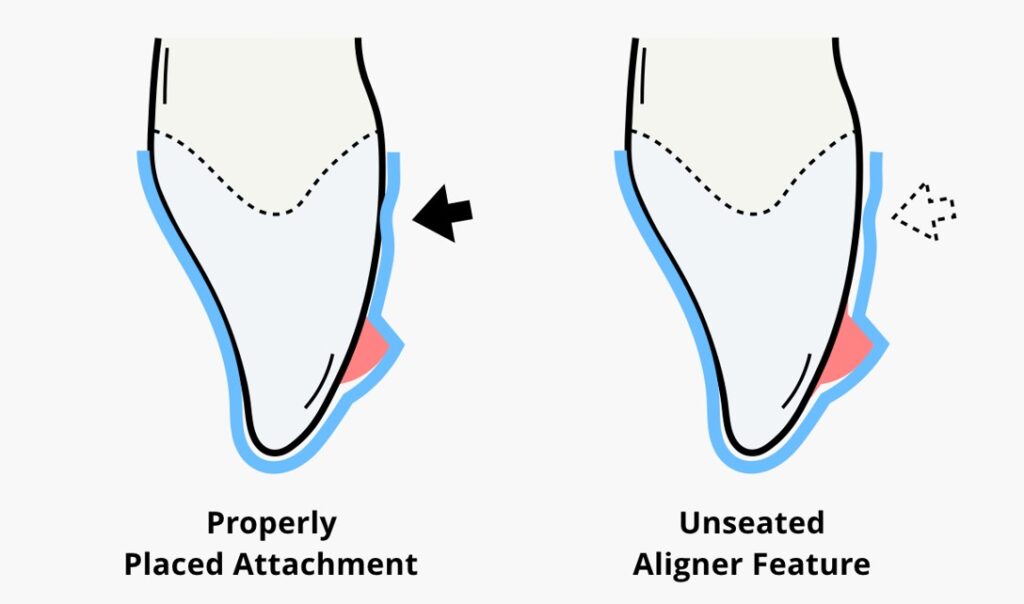
Accurate and secure placement of attachment ensures that the optimal movement of teeth occurs and avoids wasted time in fixing failed attachments. Attachments are tiny tooth-colored “bumps” that are bonded to the teeth using dental composite. They will be placed at precise locations to allow the aligners to grip the teeth as they are guiding them to their new location.
During initial treatment, planning orthodontists can determine where they need to locate attachments.
The orthodontist can then create the attachments by affixing small amounts of enamel-colored composite to the teeth, using a bonding agent and a designed template aligner tray. Although this is a simple procedure that requires no anesthesia, dental attachments require a precise placement to ensure that they properly facilitate optimal tooth movement. The complication can occur, especially when improper adhesion delays treatment and affects the aesthetics of an overall successful orthodontic treatment.
MATERIAL AND EQUIPMENT for attachment placement
We provide template aligners for creating optimal attachment placement, reducing the possibility of variations in attachment shapes and locations. After the practitioner submits the diagnostic records, fabricates the aligners and the template aligners as well. When the patient returns for his or her first aligner appointment, it can include attachment placement.

Many clinicians, however, prefer to only insert the aligners at the first appointment, give the patient a chance to get used to wearing the aligners, and then the placement of attachments. Attachments must be bonded strong enough to anchor aligners,Although many options in bonding materials are available, G- Premio BOND from GC America provides enhanced adhesion with quick working time. G-Premio BOND is a universal, eighth-generation bonding agent that is compatible with total-etch, self-etch, and selective-etch techniques, providing excellent versatility.
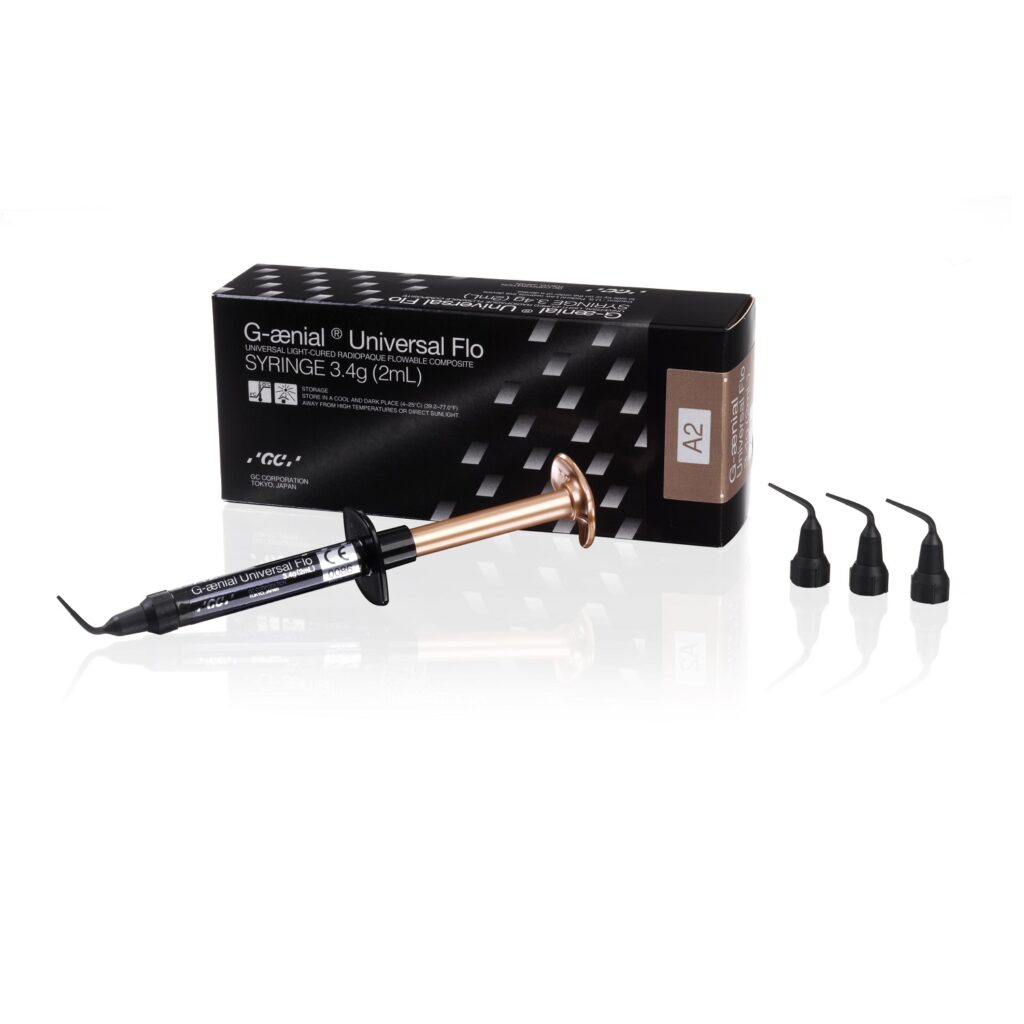
Additionally, because maintaining high esthetics remains an important characteristic of treatment and because the placement of the attachments frequently occurs on anterior teeth, a shaded composite that matches the patient’s enamel should be selected. This prevents the attachment from interfering with the ease of esthetics throughout the treatment and reduces patient anxiety regarding the appearance of the attachments. G-aenial Universal Flo composite demonstrates enhanced wear resistance, color stability with higher glass retention than other tested flowable composites, and greater sculptability to achieve the optimal attachment shape.
With many shades to choose from when using G-aenial Universal Flo for attachment placement, the clinician can use a standard Vita shade system, or new outside special shades that will help the clinicians create restorations with age-appropriate value, such as Junior Enamel and Adult Enamel from GC America.
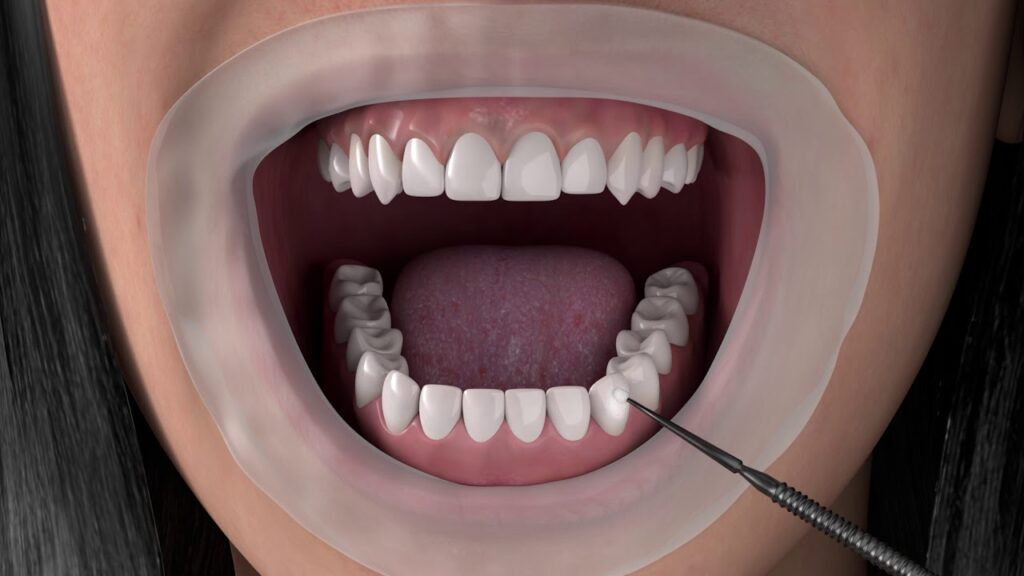
Depending upon the complexity of the case patients can have multiple attachments on one tooth. Some clinicians are comfortable using an injectable, flowable composite in creating attachments, while others find they obtain better results with a sculptable composite. The choice of composite is purely a matter of the clinician’s preference. With that said, injectable composites are usually much easier to handle, especially when there are multiple attachments to place. When placing attachments, there is a risk of over or underfilling the attachment window of the template. The injection method provides the clinician with better control for filling the attachment window areas of the template.
The dental armamentarium provides assistants with other tools for use in successfully placing attachments. The assistant should use a retractor that comfortably isolates teeth, and a saliva ejector or high-volume evacuation to reduce excess saliva and fluid in the oral cavity that could potentially interfere with bonding. Additionally, if the practitioner chooses a heavier, sculptable composite, it is essential to use composite placement tools that allow the clinician to press the composites into the template well, ensure that the optimal amount of material is present, and stabilize the template aligner during light curing.
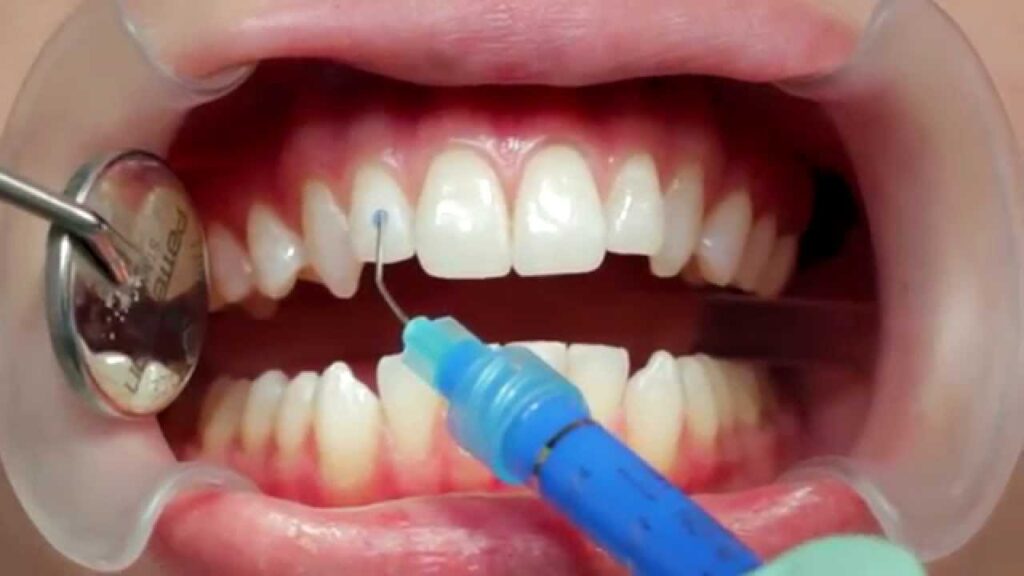
CLINICAL TECHNIQUE for placement attachment
- Before treatment, explain the attachment process so the patient knows what to expect.
- Insert the retractor into the patient mouth before treatment, to isolate the teeth and reduce salivary contamination.
- Try in the attachment template and ensure that it snaps into place and fits properly, remove the template and try in the first aligner to ensure that it also fits properly.
- Use an air-water syringe to air-dry the template completely.
- Review the attachment instructions regarding shape and location.
- Acid-etch the enamel of the tooth or teeth that will receive an attachment, as per the manufactures instructions . Etch only the specific shape and location where the composite attachment will be placed, avoid covering any of the rest of the tooth.
- Rinse the etched tooth/teeth for 15 seconds and dry until the tooth surfaces have a frosted appearance.
- Apply bonding agent it to the etched surface, then wait 10 seconds. Dry with light air for 5 seconds. Light cure the bonding agent for 10 seconds, placing the curing light right on the tooth/teeth.
- Load the shade-matched composite into the window of the attachment template. Make sure that the attachment window is slightly overfilled.
- Fully seat the loaded template onto the teeth. Use a spatula to apply gentle pressure around each attachment to ensure full adaptation, and squeeze excess composite away from the etched area.
- Firmly hold down the composite and light cure according to composite instructions.
- Remove the attachment template and then remove all flash and bonding resin between teeth floss interproximal areas and remove any excess composite.
- Repeat the procedure for any additional attachments.
- The attachment template is never to be given to the patient.

Treatments may sometimes require attachments as a fundamental tool to correct tooth alignment and manage occlusion. Accurate and secure placement of attachments ensures that the optimal movement of teeth occurs and avoids time wastage in fixing failed attachments. This helps to achieve esthetic and functional treatment results.