WHAT IS A DENTAL IMPRESSION?
Dental impression is an imprints of your teeth, gums, and surrounding oral structures. They are used to create diagnostic models of your mouth, as well as dental restorations, whitening trays, aligners, retainers, mouth guards, and more. Dental impressions can be traditional or digital.
Your dentist will use the dental impression to create a model of your mouth so that they can custom-make your appliance. By looking at a dental impression, your dentist can learn how your dental arches fit together, the size of your teeth, and how your teeth and gum fit together.

Traditional dental impressions taking with a soft material and placing it into your mouth so that it fits the shape of your teeth. In some cases, a digital dental impression can use. Unlike a traditional dental impression uses a special putty, digital dental impressions use a handheld wand and computer software.
HOW DENTAL IMPRESSIONS ARE MADE?
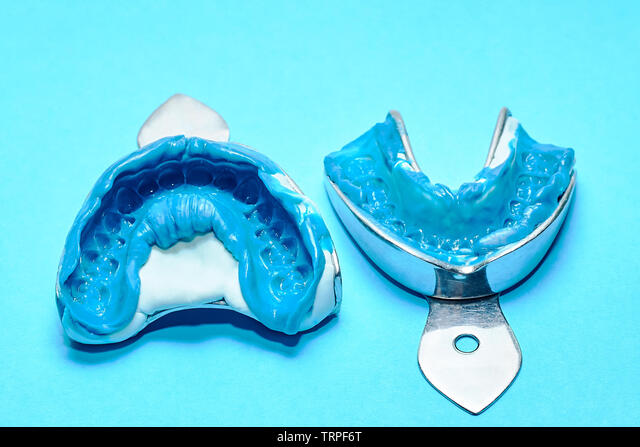
Dental impressions is from different materials but the most common type is a soft material called alginate. This material is found within the cell walls of brown seaweeds and is used to form sodium alginate. Alginate is safe for use in the mouth and it provides a detailed impression of your teeth. It is also used as a thickening agent in soups, jellies, ice cream, cosmetics, drinks, and slimming aids.
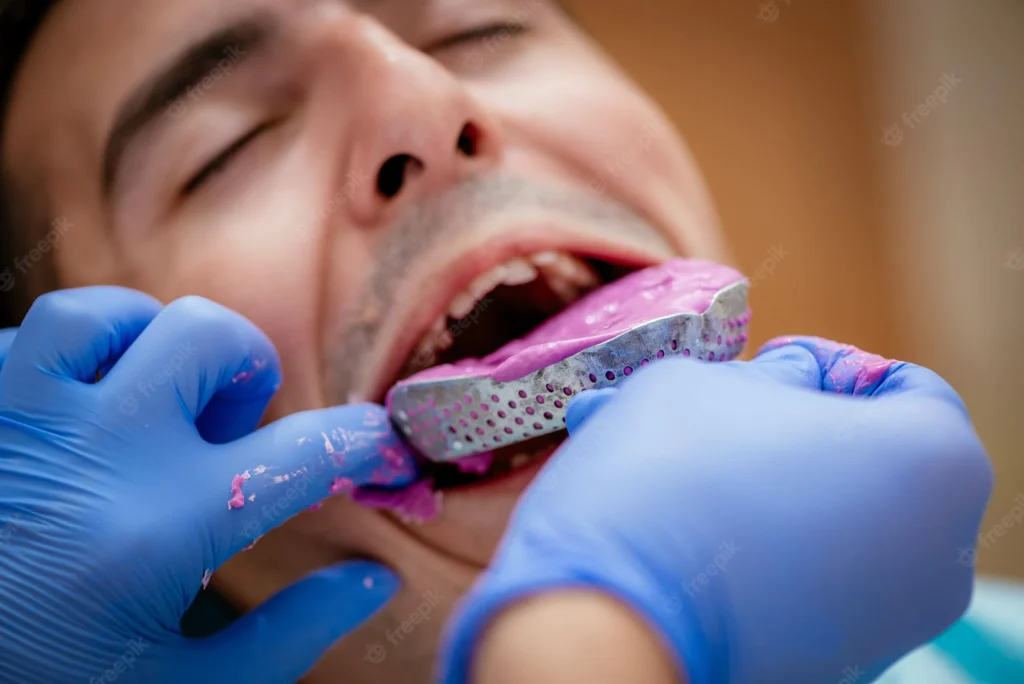
The alginate is poured into a horseshoe-shaped metal or plastic tray that is made to fit over either the upper or lower set of teeth. There are two main types of trays that can be used as stock or custom.
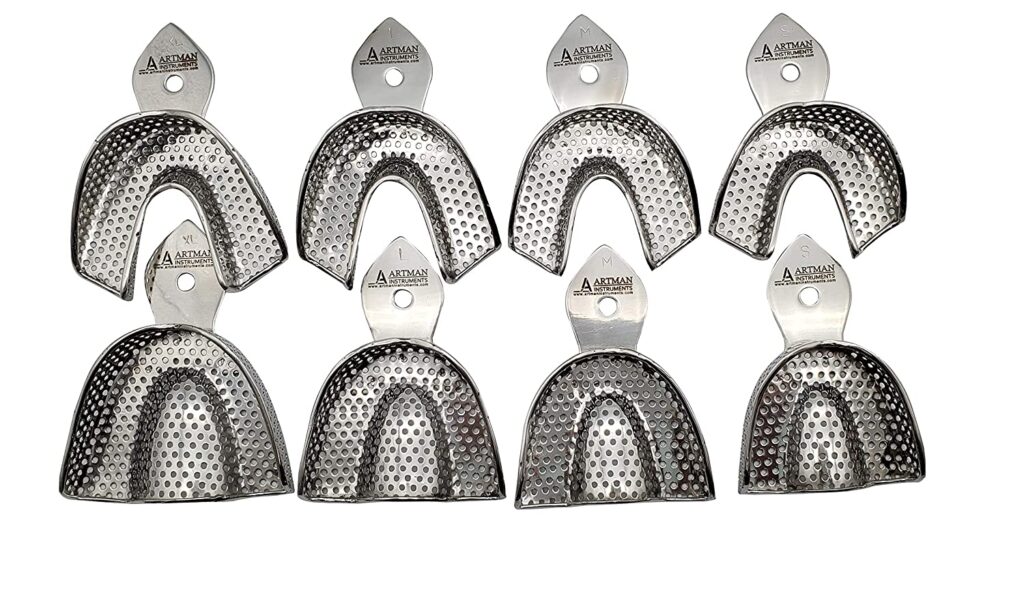
STOCK TRAYS
Stock trays come in a variety of shapes and sizes for taking primary impressions. They can be either plastic or metal and can be either have rounded edges for people with no teeth or square edges for people with teeth. Most impressions is successful with stock trays due to the use of putty.
DO DENTAL IMPRESSION HURT?
Dental impressions are not a painful procedure, but some people may feel a little uncomfortable when the alginate is placed in their mouths. For some people, dental impressions can trigger the gag reflex. There are ways around this, so be sure to speak with your dentist if you are worried about your gag reflex. The good news is that the alginate sets quickly, so the discomfort doesn’t last long.
If you have sensitive teeth, your dentist may use a different type of material for your dental impression. The common alternative is a polyether, which is a putty-like material that sets harder than alginate. Polyether is also less likely to cause an allergic reaction in people with latex allergies.
Another option for people with sensitive teeth is digital dental impressions. Therefore, digital dental impressions using a handheld wand and computer software. This method is growing in popularity because it is more accurate than traditional dental impressions and is generally more comfortable.
DO’S AND DONT’S WHEN TAKING YOUR PUTTY IMPRESSIONS
HOW TO MAKE A GOOD PUTTY IMPRESSION?
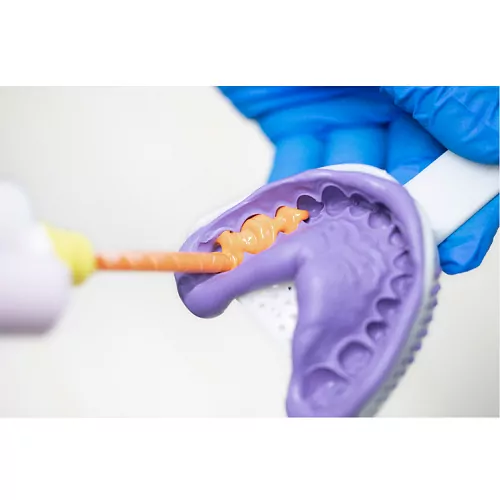
You will be making two upper and two lower impressions of your teeth. In order to make a perfect impression, there are a few simple steps and guides to follow during the process. Mixing your putty, make sure to mix it fast as it will set, ensure the color are blended completely with no marbling effect. Rolling into a ball and squashing, then repeating is the best way to achieve this quickly. Then roll it into a sausage shape that is a little thicker in the middle before placing it in the tray. This mixing process should take less than a minute.
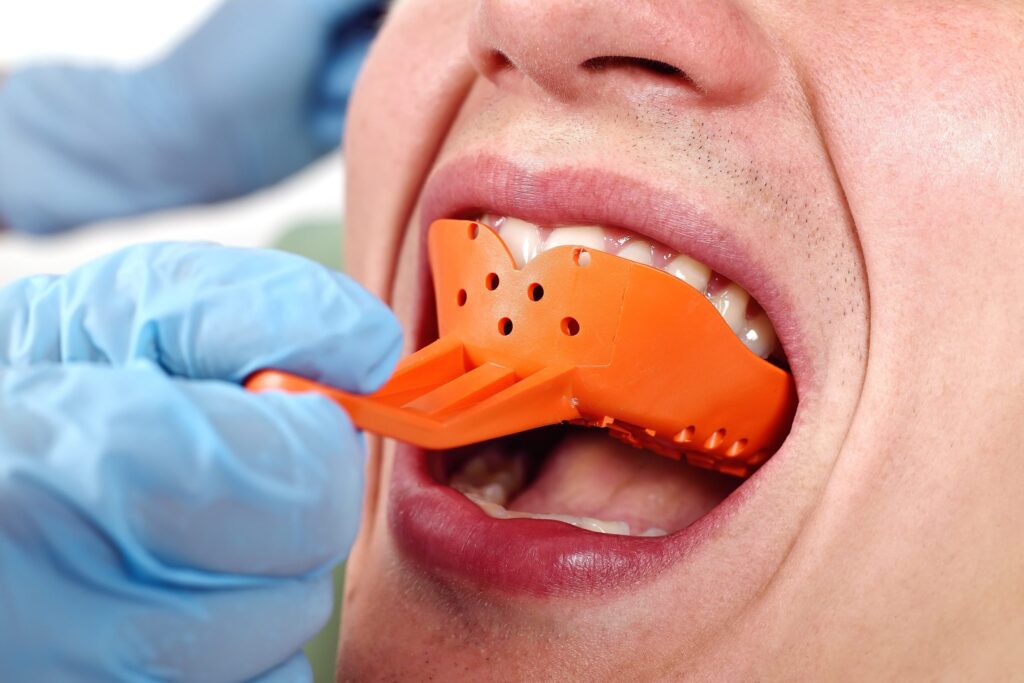
Secondly, place the putty sausage into the mouth tray, smoothing it out evenly to fill it. Aim to have the tray in your mouth within 60-90 seconds of starting to mix the putty. Once the tray is in your mouth, push evenly through the back and front teeth at the same time, then pull your lips over the front of the tray. Avoid pushing the front or back down first as this will cause drag marks.
Thirdly, it is helpful to press or massage the skin between your top lip and your nose (for the upper arch) or between your lower lip and chin (for the lower arch). This ensures the putty is pressed in and around your teeth and gums to ensure the shape of each tooth gum line is captured.
Lastly, wait 2-3 minutes, then carefully remove the tray from your mouth and repeat this process for the remaining arch.
WHAT TO LOOK FOR IN A GOOD DENTAL IMPRESSION?
- Make sure you have detailed, accurate occlusal surfaces. This will ensure that the aligners will have a tight fit.
- Make sure all gingival margins are defined and clear. ( includes a minimum of 3-4mm of buccal and lingual surfaces outside the gingival margin). This will ensure enough retention points are present for effective tooth movement.
- Make sure that the impression material is intact. Damaged or thin impression material compromises the accuracy of the molds and resulting aligners.
- Check that there are no imperfections in the impression material. ( make sure there are no voids, bubbles, thin walls, shifts, double imprints, pulls, or tears). Imperfections or double imprints in the impression could affect the effectiveness of treatment with the resulting aligner.
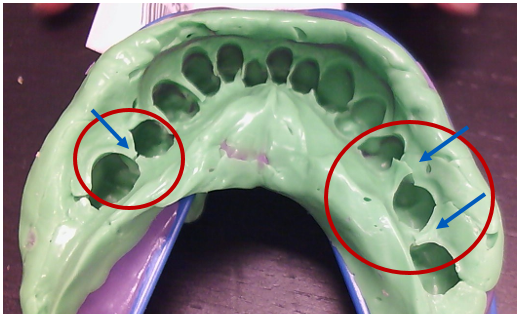
TOP REASONS FOR IMPRESSION REJECTION.
Be sure that you check your impression for these errors before you send it to your lab:-
- Voids
- Bubbles
- Thin walls
- Shifts
- Double imprints
- Pulls
- Tears
VOIDS
Insufficient material creates a void in the impression, preventing us from capturing the actual tooth outline.
BUBBLES
Bubbles in dental impression occurs while the impression material is being distributed, due to the tip being lifted out of the material. Pulling the tip out creates a hollow void that, when more material is distributed on top of it, creates a bubble.
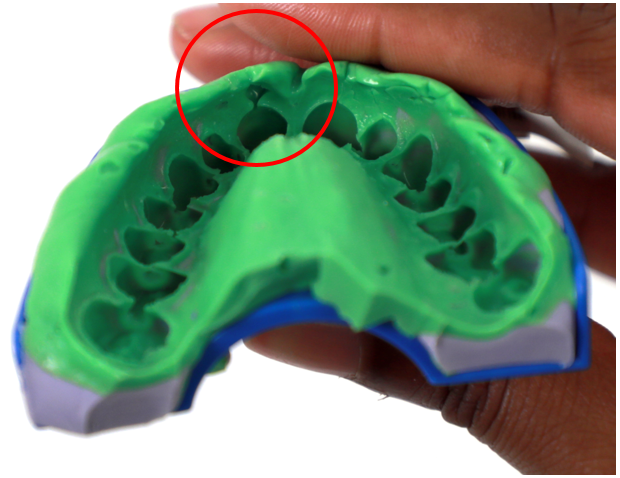
THIN WALLS
Thin walls are created in a number of ways: insufficient material, too small trays, or the tray was pushed in too deep. The material itself captures the majority of the tooth anatomy, however, the scanning process does not pick up the tray well, leaving that much of the tooth anatomy incomplete or distorted.
SHIFTS
The tray shifted while the impression material was still setting, creating a double margin on a few teeth.
DOUBLE IMPRINTS
When the full arch or quadrant was shifted, normally occurred during a two-step impression.
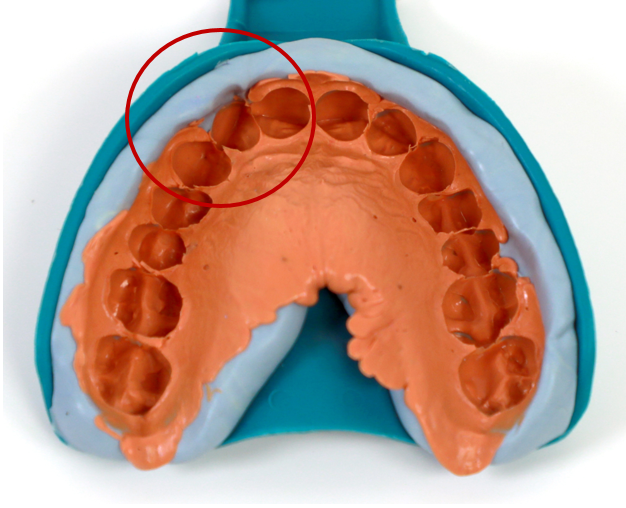
PULLS
When the impression material starts to prematurely set before it’s placed in the patient’s mouth it results in a “pulled” effect around the gingival margins.
TEARS
Tears occur when the patient has extreme undercuts or black triangles which causes the impression material to lock into the interproximal and tear when removing the impression (to avoid this, use wax to block out undercuts before taking the impression).